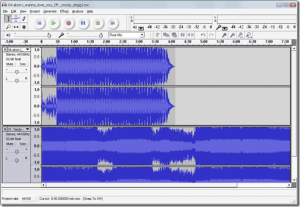
They say Stronger Stay For Longer, and this quote stands strong in the world of technology. And Audacity is a perfect example for that quote. There are hundreds (or may be thousands) of audio editors, but Audacity is still rated as one of the best audio editors even though its free.
I have shared a number of posts on Audacity and here is one more adding to the list. There are number of programs (free and paid), which let you add special effects on Audacity.
But trust me, if you can use Audacity to its strength, then you wont need any type of audio editor to do any sort of audio editing.
How To Add Special Effects On Audacity
Add Sensor Beep
- Select the part of the audio that you wish to beep out
- Silence out the section and then kill the wave
- Now generate Tone by navigating as Generate > Tone
- Use Waveform as Sine, Frequency as 1000 Hz, and Amplitude (0-1) as 0.5
Add Robot Voice
- Select the part of the audio which has to be translated to robot voice
- Navigate as Effects > Delay and set the parameter. Make Decay Amount as 10, Delay Time as 0.0045 and Number of Echoes as 30
- Now repeat this delay by navigating as Effects > Repeat Delay to 3-5 times
- Change the pitch to a value depending on the type of robot voice you wish for
- To finish it off, add Bass Boost
Add The Voice Of God
- Select the part of the audio which has to processed
- Add an echo with a Delay Time of 0.12 and give a value of 0.4 to the Factor
- Now add another echo with a Delay Time of 0.05 and a factor of 0.4
- Now add one more effect by putting a value (anything between -10 and -20 percent) to Change Speed
These are the 3 effects that can be added to any audio file using Audacity.

