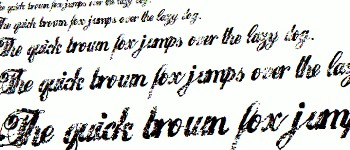
If you have been working on Ubuntu 9.04, 9.10, 10.04 and 10.10 and looking to install fonts on Ubuntu, here is some help for you. We would be telling you the straight forward steps to go ahead and install Ubuntu fonts.

There is one simple command which will let you install Microsoft Windows Fonts on Ubuntu. So, just launch the terminal and fire the below command:
sudo apt-get install ttf-mscorefonts-installer
And if you are looking for Red Hat Liberation fonts, below is the command that you need to fire:
sudo apt-get install ttf-liberation
And if you are looking to install fonts other than the Windows fonts, follow the below steps:
- Get to the Home folder and navigate to Nautilus View menu and go with option, Show Hidden Files
- Once you are done with the above steps, you need to create a new folder and name it as “.fonts”. Make sure that you put up a DOT in front
- In that folder, you can copy any fonts that you want to use. You can add all sort of fonts to it, and restart you computer
- Once the computer is restarted, you would be able to use all the fonts that you have added
This is how you can easily add and install fonts on Ubuntu.
