We’re going to learn how to create your own vector image design using an alternative to Adobe Illustrator like Inkscape which is free. You can download it from this link. Vector imaging is synonymous with Adobe Illustrator. Unlike regular, glossy images like those in the JPEG format, vector images have the advantage that they preserve the same picture quality no matter how much you zoom into them. Vector Images are widely used in designing.
Print media benefits the most from the use of vector imaging due to its lossless nature. You can also create logos using vector images. Let’s get started, and what better image to create than the logo of Quake 3..

The Reference Image
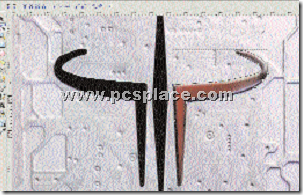
It’s advisable to use reference images to create your vector image. (If you’re good at design, you can probably do it freehand.) We first create a layer in which we will place our reference image under the default working layer: in a new document,
-
Select Layer > Add Layer, and from the position drop-down, choose “Below current”.
-
At the bottom of the screen in the status bar, select the Reference layer we just created from the drop-down menu.
-
Select File > Import, and point to the file you want to use as the reference.
-
Move the reference image in place, then lock the reference layer so we don’t alter anything in it by mistake.
Keep in mind that you need to add layers and groups for various areas of the image, the same way you would in Photoshop. This gives you the flexibility to access and make changes to selected items only when things get complex.
Adding Paths
With the reference image in place, we can dive right into the outlining process. Switch back to Layer 1, our default layer. You have quite a few tools to choose from. You can choose one of the basic shapes depending upon the design you’re creating. Paths are the outlines of shapes that you create. The freehand tool lets you create paths freely, but unless you have a really stable and accurate hand, you’d want to avoid it except for when you absolutely need it.
The Bezier curves tool is the most accurate way to create paths, so click on the Bezier tool button. We start off by creating outlines for the three frames in the Quake 3 logo. Click on a suitable starting point to start the path, and keep clicking on suitable points wherever you require them to create a smooth path. Using Bezier lines means you won’t have sharp edges. To create Bezier curves, hold the left click and move the mouse to create the curve.
Once you’re done creating the path, you can alter it by clicking on the “Edit path nodes or control handles” button. You can also add new nodes and remove existing ones if needed using the tools in the Tool Controls Bar.
Filling In Colors And Outlines
Once all the paths have been created, it’s time to fill them with colors. Select the path you want to fill and right-click on it. Choose Fill and Stroke, and choose the fill colors and style you want for the path. You can alter the size of the outline of the path using the Stroke Style and the colors from Stroke Paint.
Fill colors don’t always have to be flat; they can be smooth-flowing gradients. Color gradients should help bring out realism better than flat-filled colors. In the Fill and Stroke window, you can choose from a linear or radial gradient for the fill color. You can also use the “Create and Edit Gradients” tool to create custom gradients.
First select the path you created, then press the Gradient button in the toolbar, and draw a line in the direction you want the gradient to be filled. You can change the behavior of the gradient by clicking on Edit in the Tool Controls Bar.
Choosing Accurate Colors
You can choose colors for the paths by yourself, or you can choose a tool “Pick averaged colors from image”. Click and drag on the image to get a sample of an area. This color will be applied on the path that
was selected.
Auto-trace
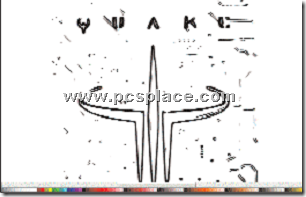
Inkscape has an auto-trace feature, which automatically traces outlines in an image and creates paths for you. This isn’t very accurate and requires some cleaning up, but it does save a lot of time.
Open the layer with the reference image and click on it. Select Path > Trace Bitmap. Choose one of the scanning methods and alter the settings accordingly. Click Update to see the results.

When you are pleased with them, click OK. Your image should now have paths drawn all over it. Use the “Edit path nodes or control handles” tool to select and delete unnecessary paths.
The final product
When you’re done with the designing, you can export your work to a suitable format such as SVG, PDF, PS, and more by selecting File > Save As.
Vector art creation can take lots of time, especially with high-detail objects and scenes when large numbers of paths have to be created for detailing of objects. Putting your paths in groups and layers is good practice for better organization. For good results, you’re going to need a lot of patience for creating high-detail designs, which requires tremendous accuracy
