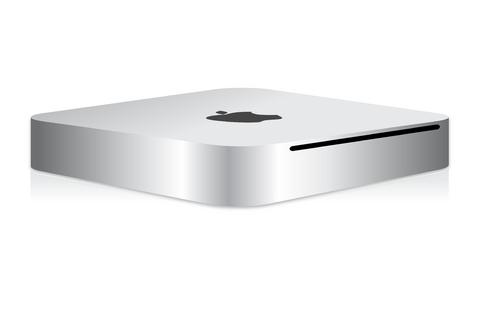
The first thing you do when you get an Apple Mac OS powered device is configuring internet connection on it. Here is the basic procedure to set up broadband internet on your Mac. When you sign up for internet access, the ISP that you sign up with will send you paperwork that is covered with what seem to be ancient hieroglyphics, for all that they are impossible to decipher. But don’t panic – these are the settings that you require to connect to the ISP. When you input them, you will be connected and surfing the internet in no time at all.
Before you jump head first into configuring your Mac for this, you need to be sure that you have gone into System Preferences and configured the internet settings. By doing this, you will have your web settings and default e-mail account entered and ready.

Setup with your Internal Modem
It is easy to set your internet connection up on a Mac’s internal modem with just a few easy steps.
1. Look at the Dock and click the System Preferences icon. Select Network.
2. Where you see Show Drop-Down List, choose Internal Modem.
3. Select the tab for TCP/IP. This is where the settings that your ISP sent you – the ones that look like they belong on an Egyptian cartouche – come in handy. Enter those settings for the correct connection type.
- AOL – Click on the Configure IPv4 drop-down list. Select AOL Dialup. If AOL has provided you with a Search Domain or DNS Server address, click the proper box and enter that address now.
- Manual connection – Click on the Configure IPv4 drop-down list. Select Manually. With your ISP’s setting instructions handy, enter the settings for IP Address, DNS Servers, and Search Domains in their respective fields.
- Point-to-Point Protocol (PPP) – Click on the Configure IPv4 drop-down list. Select Using PPP. If the ISP has provided you with a Search Domain or DNS Server address, click on the proper box and enter that address now in the correct field.
4. Select the tab for PPP.
5. Enter your account name, phone number, password, and your service provider’s name and the alternate phone number that your ISP provided you with into their correct fields.
6. On your keyboard, press COMMAND + Q. This will exit the System Preferences and save the changes that you have made.
Setup with Ethernet Hardware
It is just as easy to set your internet connection up when you are using a cable modem, DSL connection, or network.
1. Look at the Dock and click the System Preferences icon. Select Network.
2. Where you see Show Drop-Down List, choose Built-in Ethernet.
3. With the settings that your ISP provided you in hand, enter the correct settings.
- Dynamic Host Configuration Protocol (DHCP) — Click on the Configure IPv4 drop-down list. Select Using DHCP. From here, your ISP can set up almost all of the TCP/IP settings for you automatically.
- If you will not be using DHCP, click on the Configure IPv4 drop-down list and select Manually. Enter the settings that your ISP provided for IP Address, Subnet Mask, DNS Servers, and Router in the correct fields.
4. If the ISP that you are using uses Point-to-Point Protocol over Ethernet (PPPoE), then select the PPPoE tab.
5. Click in the check box for Connect Using PPPoE to enable it. Enter your account name and your password in the fields provided. If your ISP has included a PPPoE Service Name and Service Provider name, enter those, too.
6. If there are people other than you who use your Mac and need access to the internet through your account, click in the check box for Save Password to enable it.
7. To show an icon in the menu bar that will allow you to see the status of the PPPoE connection, click in the check box for Show PPPoE Status in Menu Bar.
8. On your keyboard, press COMMAND + Q. This will exit the System Preferences and save the changes that you have made.
A guest article written by Spencer Hogg from the Broadband Expert website where you can search and find the best ISP to suit your needs.
